Business PBX Administration Guide
This guide provides an overview of common administration functions for Netbright's Business PBX phone system. The topics covered are:
- Getting Started
- Adding a new user
- Changing user details
- Removing user access
- Call reports
Getting Started
To login to the administration user interface, access your system's website in a supported web browser (e.g. Chrome, Firefox, Microsoft Edge).
When you visit the site, you will be prompted to login to the 3CX system as follows:
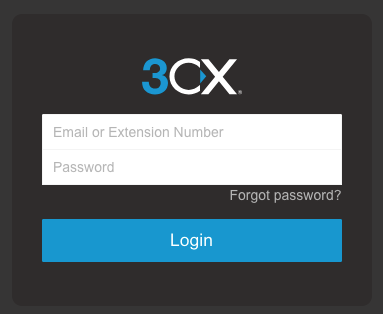
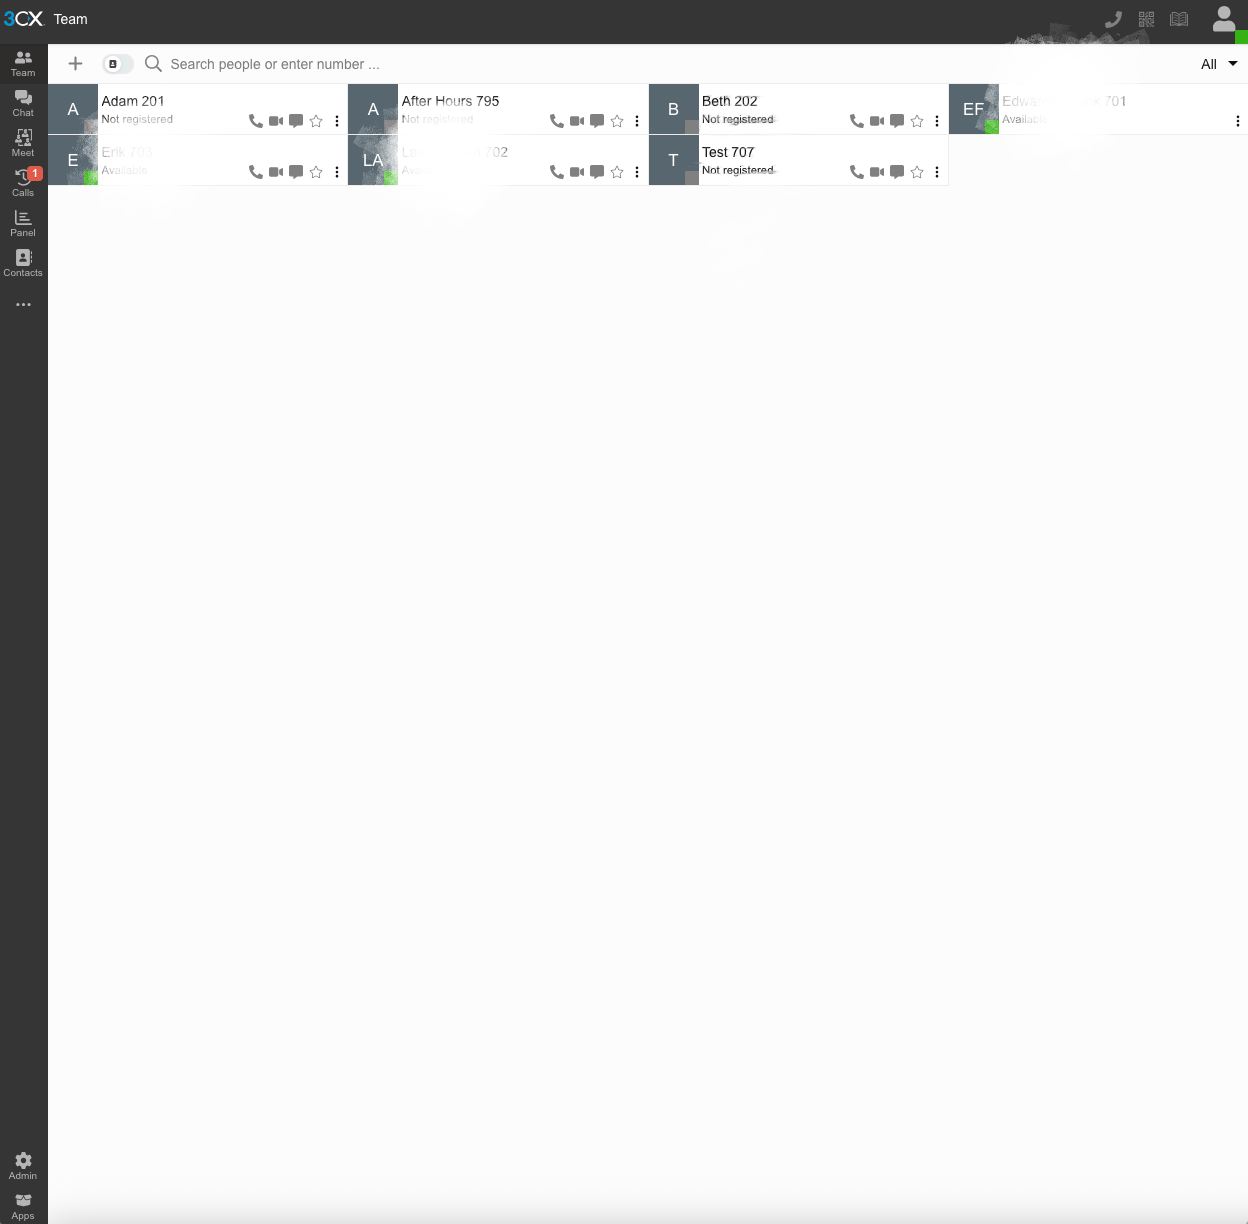
Enter your email or extension number and your password. On login, you will see the Team view with other users shown. Choose the Admin icon on the lower left of the screen to access the management system.
Adding a New User
To add a new user, follow the steps below.
Select Users from the Administration menu and click on the New User button. The Add user screen below is shown.
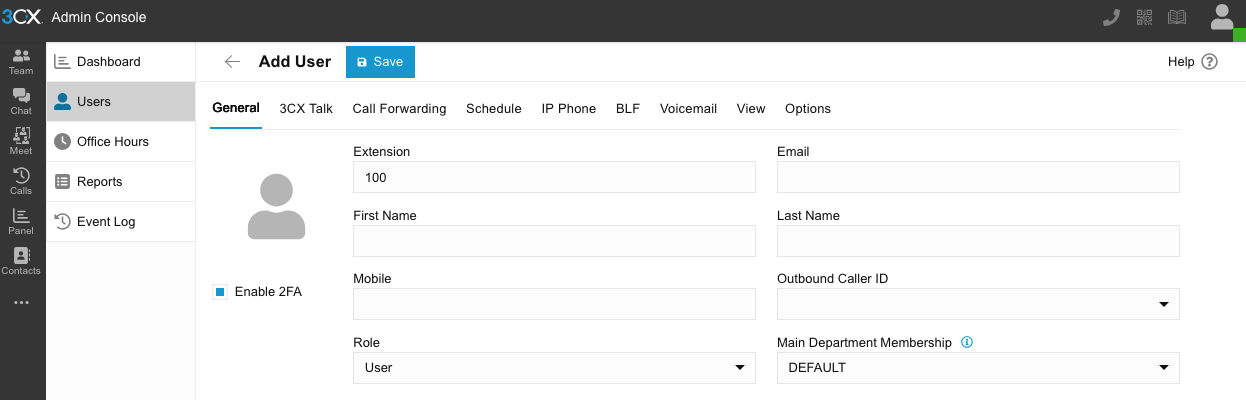
Enter the information as shown below:
- Extension: a unique extension number is required.
- Email, First Name and Last Name as required.
On the Voicemail tab, enter the following:
- For Email Options, choose Send voicemail as attachment.
- Enable the checkbox Disable Voicemail PIN Authentication.
On the Options tab, uncheck Send email notification on missed call.
Click Save.
The user will receive a welcome email where they can set a password and login using a web browser. Once they login, they can install the 3CX Mobile app as outlined in the user guide.
Note
If a physical handset is required for a new user, please contact us to arrange configuration and installation.
Changing User Details
Changing user details can be accomplished using the steps below.
Select Users from the Administration menu and double-click on the user whose details are to be changed. The Edit User screen below is shown.
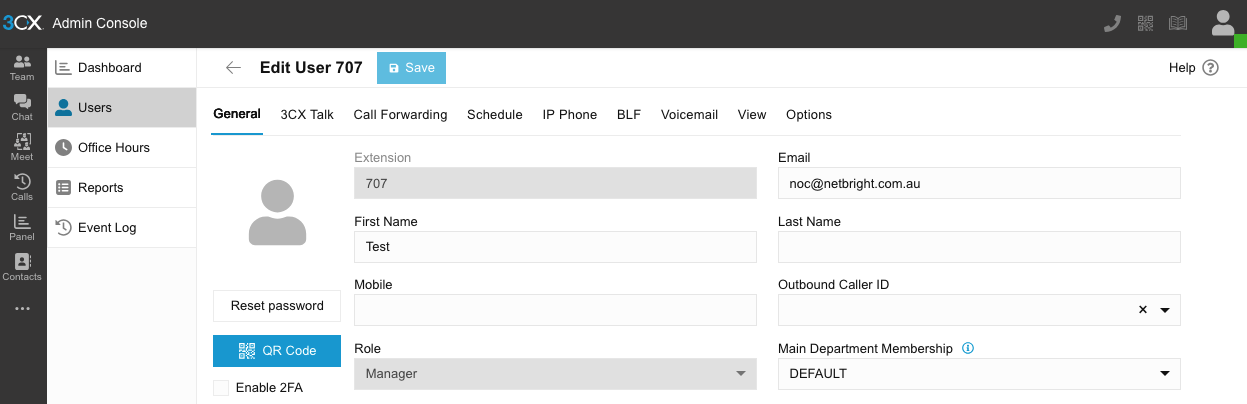
Update the relevant details such as email, first name and last name as required, then choose Save to apply the changes.
Removing User Access
If a user leaves the organisation and has access to the system via username & password, or via the Mobile app, their access can be disabled as follows.
- Ensure access to their organisation email is no longer available to the user.
- Select Users from the Administration menu and double-click on the user whose access is to be disabled.
- Click on the Reset Password button.
Call Reports
There are a number of reports available on the system, including logs, system reports and queue statistics. The common reports include:
- Call logs: all calls
- Inbound calls: information on incoming calls
- Outbound calls: information on outgoing calls
- Extension statistics: summary of activity by extension
- Ring groups: summary of activity by ring group
Accessing Reports
To access reports, choose Admin, Reports. Then choose Call Log for all calls, inbound calls or outbound calls.
The interface allows you to filter by range, call status, or search for a specific caller, callee or other information.

Inbound and outbound call reports allow you to filter by range, call status and trunks.

Extension statistics allow you to filter by range, call direction and department.

Ring groups allow you to filter by range and ring group.

Note that all reports can export data as a CSV file for further analysis in Excel, or print the report.
Scheduling Reports
Reports can be scheduled and emailed to a user if required. To do this:
- Click on the type of report you want to generate, then click on the funnel icon.
- In the next window select the date range of your report (the from and to fields) as well as the call type. These fields may differ depending on the type of report you are scheduling. Click on Save/Schedule.
- In the next window enter a name for your report and choose how often you want to receive it. Note that all scheduled reports for a single user are aggregated into one email.
- Click OK. Your report will be emailed to you according to your selection.
Scheduled reports are sent via email with a report link and .csv file attached, which can be easily used as a data source for other tools.